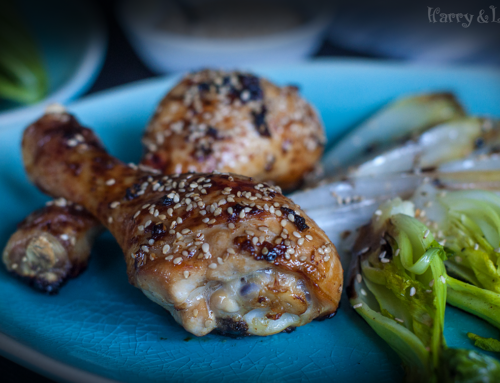
Easy Chicken Kiev

Every time when I have a chance (meaning time), I’m watching culinary shows. Last Saturday, during breakfast, we watched 2 episodes of Jamie Oliver’s tv programme. In the first one, even his dad was there and they made Chicken Kiev together. It looked awfully appetising so I wanted to make this recipe as well. Me being me, I didn’t write anything down so when I was standing between the shelves in the supermarket I decided to improvise with the ingredients. Besides, I don’t think Jamie ever gives precise amounts! It is super fun to watch though, he just says a little bit of this, a little bit of that, a few pinches of something else, a fourth thing to taste, and a few drops of olive oil… that look more like 50 ml. So anyway, in the end it turned out to be a fantastic lunch that I genuinely recommend.
If you truly want to impress your loved ones and make even Jamie Oliver proud of you, it would be great to make the filling a few hours earlier or even on the previous day. And one more advise, definitely get the freshest chicken breasts you can find, preferably from the butcher’s.
Ingredients for 4 portions Chicken Kiev:
- 4 big chicken breast fillets (600-700 g)
- 2 slices of old bread
- 4 tbsp flour
- 1 egg
- Oil for frying

Ingredients for the filling:
- 125 g butter, softened
- 50 g bacon strips
- 50 g sun-dried tomatoes
- 2-3 garlic cloves
Chicken Kiev preparation:
- Fry the bacon strips and transfer them onto kitchen paper towel to cool.
- Peel and cut the garlic cloves. Cut the tomatoes and bacon strips into small cubes.
- Place the butter into a bowl. Stir in the bacon, sun-dried tomatoes and garlic until well combined. Transfer the mixture onto a piece of cling film and wrap as a roll. Refrigerate for 15-20 minutes.

- Preheat the oven to 175° С. Pour oil into a frying pan – it must be at least 1 cm deep.
- Whisk the egg in a medium sized bowl.
- Place the flour into a deep plate.
- Remove the crust from the bread slices and crumble the rest into crumbs in a separate plate.
- Take the butter out of the fridge and cut it into 4 equal parts.

- Place one of the chicken breasts onto a chopping board with the flat side down. Using a sharp knife, make a long cut to make a “pocket”. Put one of the butter pieces inside and close it. Repeat with the remaining chicken breasts.

- Roll the chicken into the flour, then the egg and finally, the breadcrumbs. Heat the oil in a saucepan and fry the chicken Kiev for about 2 minutes on each side. It should obtain a nice golden crust. Transfer the chicken breasts into a baking tray and bake for 15-20 minutes.

Tip: Serve your Chicken Kiev onto a bed of fresh green leaves. You can also add radishes and spring onions, and sprinkle with salt and balsamic vinegar. Decorate with a few lemon slices.

In his tv programme, Jamie served his Chicken Kiev with potato mash and broccoli.

Bon appetit!


Leave A Comment