


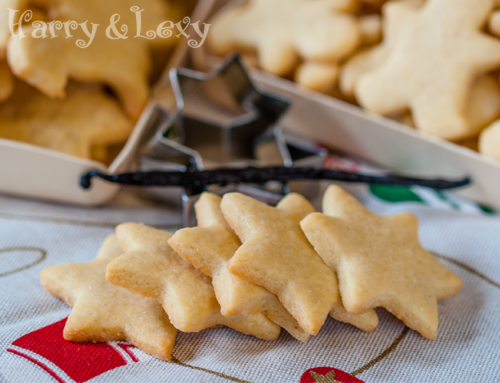
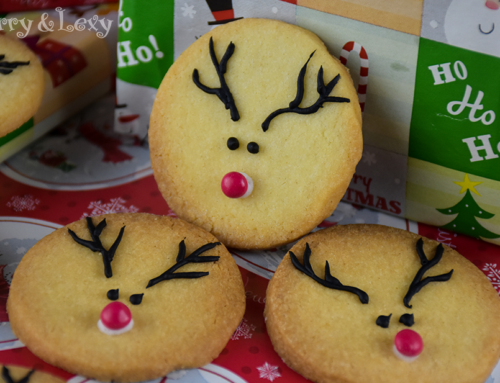
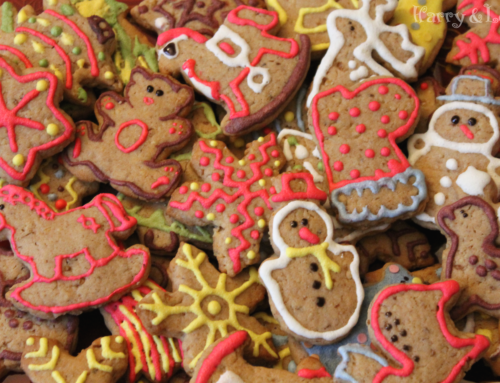
Last week I had to bake something for my colleagues at work as we had a fundraiser for a charitable organisation we support called “Hounds for Heroes”. The idea was everyone to cook something and sell it, and then to donate the collected money. I loved it, so I gave it a thought and decided that something Christmassy would be best for the season. Also, individual cookies sell more easily, so I tried one recipe for cookies, but made two different types of decorations – these cute Melted Snowman Cookies and these adorable Rudolph biscuits. I saw the idea for melted snowman cookies a few years ago in Pinterest and I wanted to make them ever since. I don’t know who had the idea initially, but it’s great! Snowmen look spectacular and are very easy to prepare so you don’t need to be a master confectioner. I used a universal recipe for sugar cookies, which is very quick, and the dough is suitable for cutting out shapes with cookie cutters. If you have your own favourite recipe, you can use it and just decorate the same way. Happy baking!

Ingredients for Melted Snowman Cookies (make 28 big cookies):
- 360 g plain flour
- 250 g butter, softened
- 225 g sugar
- 1 egg
- ½ tsp vanilla
- ½ tsp salt
- ¼ tsp soda
Ingredients for the Melted Snowman decoration:
- Royal Icing
- Marshmallows
- Black edible marker
- Colourful chocolate beans
- A few colours writing icing – it’s good to have a black one for drawing the eyes and smiles, and a few colourful ones for scarves

Melted Snowman Cookies Preparation:
- In a bowl mix the softened butter and the sugar.
- Add the egg and vanilla and mix well.
- In another bowl sift all dry ingredients and gradually start adding them to the butter mixture. Stir until you get a smooth dough. Divide it into two equal sized balls, wrap them in cling film and put them in a fridge for at least 30-60 minutes.
- Preheat the oven to 180°C.
- Roll out half of the cookie dough on a slightly floured work surface. Cut out round cookies 8 cm in diameter and 0,5 cm thick. If you use smaller cookie cutters, the melted snowmen cookies won’t look as good when you put the marshmallows on top.
- Arrange the Christmas cookies onto a large baking tray covered with parchment paper and bake for about 8 minutes.
- Using a black edible marker or black writing icing, draw faces onto the marshmallows – eyes and smiley faces. Use red or orange colour to draw ‘carrots’ for noses. Different facial expressions will give your melting snowmen cookies a lot of character.
- Prepare the royal icing (or use a ready one).

- Decorate the cookies with white royal icing so it will look like melting snow.
- Place the marshmallow heads on top while the icing still hasn’t hardened. If you have little chocolate beans, now is the moment to place them as buttons. Leave the Christmas cookies aside to stiffen for a few hours (overnight is even better). After that you can draw ‘sticks’ for arms and scarves.


These are so cute!!!! Thanks for making and sharing such an adorable recipe! Plus, how great you baked these for charity!
Can you just imagine how wonderful these would be at a Frozen themed birthday party as well?! Olaf never looked so cute lol. 🙂